Why Baking Recipes Call For Scalded Milk
There is a valid reason.
Getty Images
While sorting through Grandma’s recipe box you found a baking recipe that instructs you to “scald” the milk. That sounds like extra work, but this is baking after all, so you drag a pan to the stovetop and start heating the milk. But is it necessary?
Some say that scalding the milk is an old-school holdover that people do for nostalgia more than anything else. Although the technique does have origins in antiquated food safety rules, it still has its advantages today, especially when it comes to enriched breads, like buttery rolls. So before you skip the scalding, let us explain why the step is there to begin with.
Why Old-School Recipes Call for Scalded Milk
Today, we don’t have to think about pasteurization much, but that wasn’t always the case. Prior to government regulations over the sale of milk that made pasteurization (the heating of milk to kill potentially harmful bacteria) standard practice, individuals would cook or scald milk before using it to avoid getting sick. In this sense, scalding milk today is an unnecessary step in a recipe, but beyond food safety, this technique can help improve the taste and texture of baked goods.
Is It Really Necessary?
Strictly speaking, no. But it has advantages. In bread doughs, scalding milk can denature the milk proteins, which otherwise can weaken the gluten and prevent the bread from rising properly. This is often why hot or scalded milk is touted as the secret to extra fluffy rolls and breads. In other baking applications, scalding the milk is an opportunity to infuse flavors into the hot milk, such as vanilla beans and cinnamon sticks.
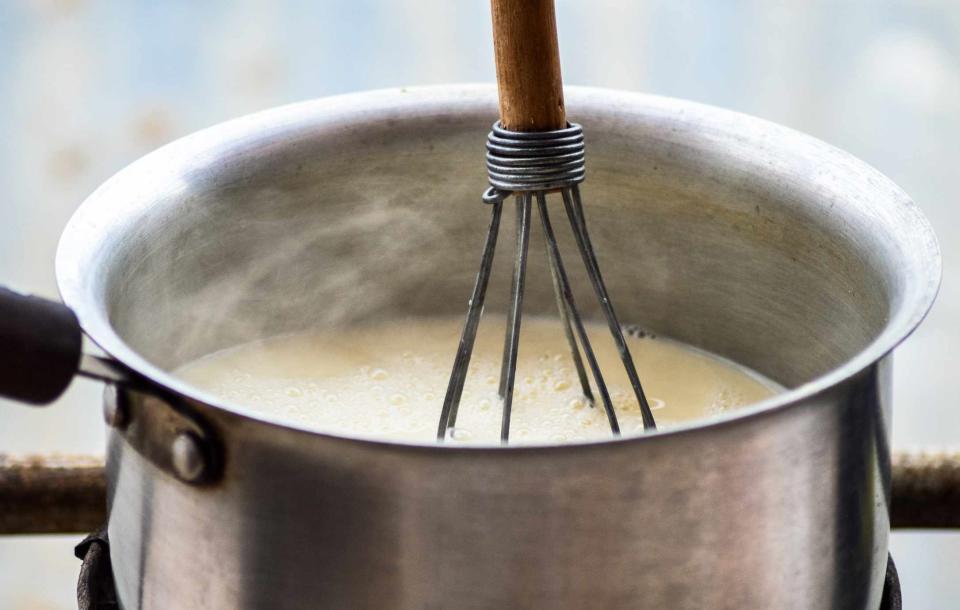
How To Scald Milk
It's not difficult to do, but keep an eye on the pot to avoid a burnt mess.
Add cold milk to a heavy-bottomed saucepan. If infusing the milk with anything, you can add those ingredients now.
Heat over medium heat, stirring frequently to avoid scorching the milk. Don’t walk away from the pot, the milk can easily burn.
Cook until tiny bubbles appear around the edge of the pan and wisps of steam come off the surface of the milk. If you have a thermometer, you want to cook the milk to 180℉ and then remove the pan from the heat.
If you infused the milk with anything, discard added ingredients or strain.
Tips for Working with Scalded Milk
Cool the scalded milk before adding it to yeast. Scalded milk is too hot for yeast directly off the stove and will kill it if combined too soon. However, the milk should still be warm when combined with the yeast, around 110℉.
Don’t cook the milk beyond 180°F, as it can scorch or burn, and burnt milk is quite hard to clean off pans. All the more reason to keep a thermometer handy.
Heavy-bottom pans are best for scalding milk. They help prevent the milk from heating too quickly and scorching on the bottom of the pot.
For more Southern Living news, make sure to sign up for our newsletter!
Read the original article on Southern Living.

