How to Wax Your Own Skis In 4 Easy Steps
This article originally appeared on Ski Mag
Even the most dedicated skiers can get lazy about waxing their skis regularly. But technically, your skis should be waxed every half dozen ski days (at minimum), and not just to make them glide faster. "Wax increases the density of your bases so they'll be less susceptible to damage," says Leif Sunde, experienced ski technician and cofounder of the Denver Sports Lab in Golden, Colo. "If you're ever bored, just wax your skis. There's no such thing as too much wax."
Paying someone else to wax your skis that often can get pricey, so learning to do it yourself can save you a chunk of change. Plus, Sunde is willing to stake his livelihood that anyone can learn to wax. Just gather the right supplies, clear some space in a well-ventilated basement or garage, and follow these four easy steps.
Ski Waxing Supplies
You’ll need the following basic waxing tools to set up shop at home. If you’re new to waxing and don’t yet own any of these tools, you can find pre-assembled starter kits that include many of these basic items at your local ski shop or favorite online retailer.
Base cleaner/conditioner
Waxing iron (use a ski-specific waxing iron, do not use a clothes iron as temperatures vary)
Ski brake retainers (like industrial-strength rubber bands)
Wax (beginners, start with all-temperature wax)
Plastic scraper
Base brush
Related: How to choose the right kind of ski wax for your local snow conditions
Step 1: Prep Skis

Retain the brakes of your skis by looping a strong rubber band around the brakes and the heel piece of the binding.
Apply a base cleaner/conditioner with a sponge to remove any road salts and chemicals the skis may have picked up to and from the resort. Then use a base brush to remove excess contaminants. This will ensure you have a clean surface to work with.
Step 2: Apply Wax
Heat the waxing iron to the appropriate temperature for the wax you're working with. Make sure the iron is not smoking when you apply wax, as this indicates overheating.
Turn the iron upside down so the top corner of the iron hovers just above the base of the ski. Gently hold the brick of wax against the base of the iron and drizzle the wax down the length of the ski, working tip to tail. Try to get the wax to melt in a steady line down the length of the ski versus leaving wax blotches.
Step 3: Work in Wax
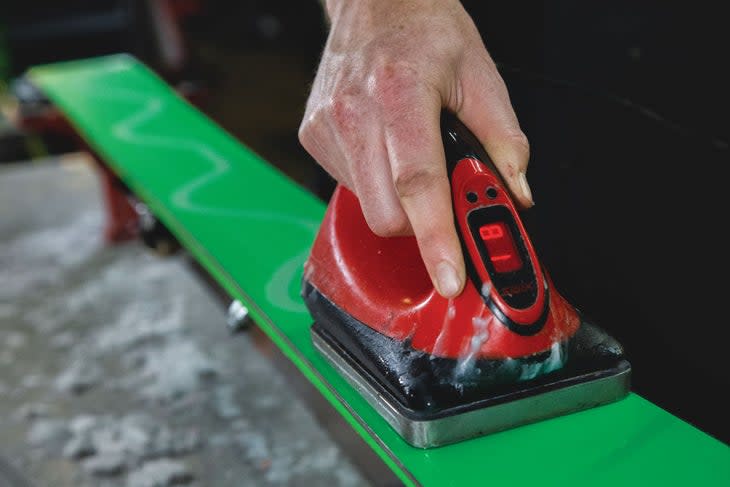
Work the wax into the base by running the iron slowly from tip to tail until wax has completely melted and spread evenly across the base.
Let cool for 30 minutes or until bases and top sheets are completely cool to the touch.
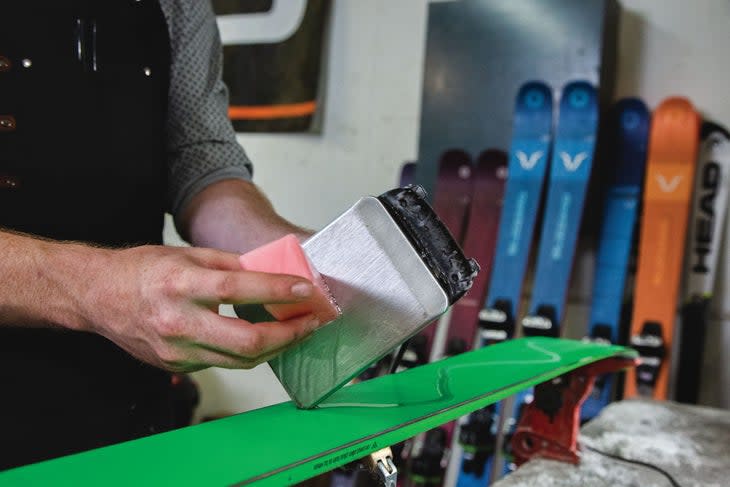
Step 4: Scrape and Brush
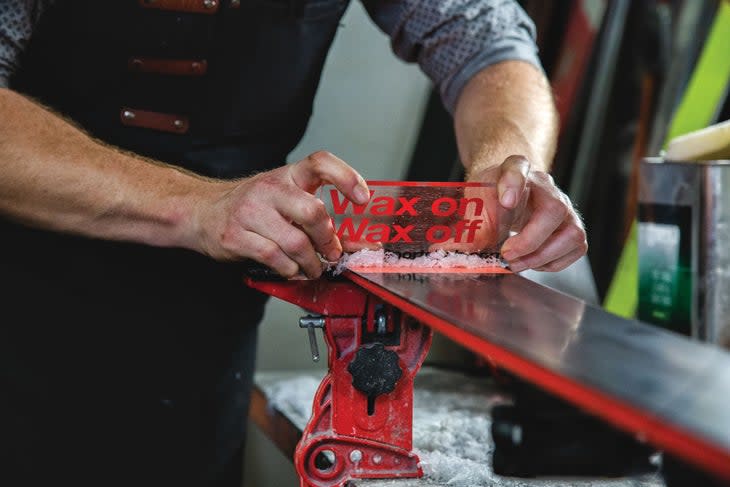
Apply the edge of the scraper to the base and working tip to tail, push or pull the scraper along the length of the ski to shave off excess wax.
Use a base brush to brush the bases tip to tail to remove any unbonded wax from the pores of the base’s plastic.
Go deeper: Check out Sunde’s step-by-step waxing video tutorial
Leif Sunde is a highly experienced ski technician who founded the Denver Sports Lab in Golden, Colo., to make Olympic-level tunes available to the public.
For exclusive access to all of our fitness, gear, adventure, and travel stories, plus discounts on trips, events, and gear, sign up for Outside+ today.

