Want to make syrup this winter? Here's what to know about tree tapping in the Ozarks
Perhaps one of the most common myths about trees, Rachael West said, is that they go dormant during the winter months, falling into hibernation until spring rolls around.
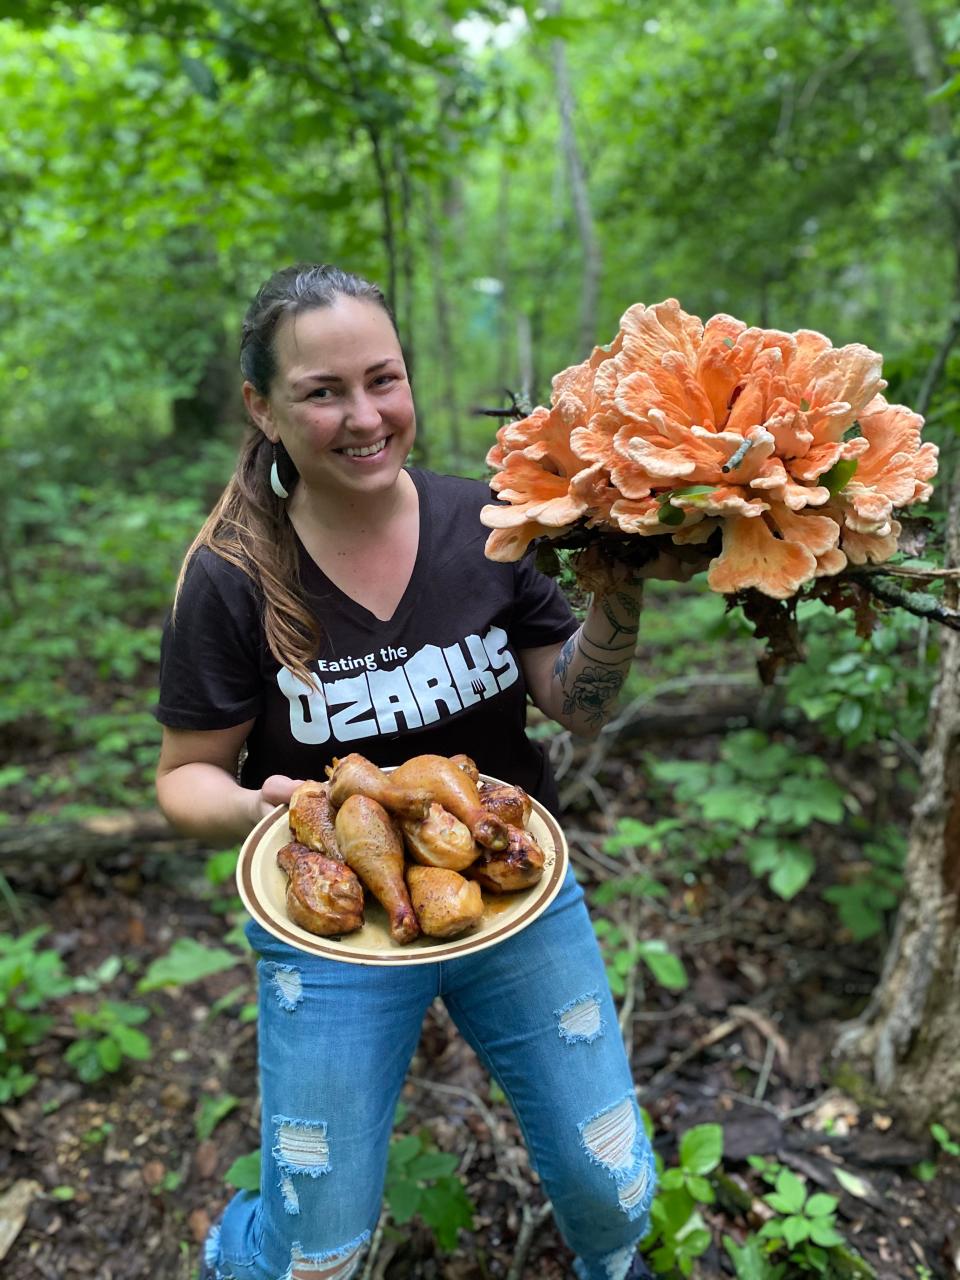
But West, founder of Eating the Ozarks, said this could not be farther from the truth. Trees remain active during the winter, sensing the changes in soil temperature and water intake, preparing for bud growth, and "working" with other natural life in their habitat.
Months before she can begin foraging for nuts, berries and leaves, West sets up tree taps at the start of each new year as a way to collect sap. The practice of tree tapping dates back to the 1600s.
Whether you have a single maple in your backyard or hundreds of different tree species scattered across acreage, you can easily learn how to set up a tree tap at home. With a few tools, you can secure a tap and tubing line to one or several trees for sap collection. Then, you can reduce the sap on your stovetop to make fresh, all-natural syrup.
Here are 7 tools needed for tree tapping at home
Here are the tools necessary for tree tapping, many of which folks likely already have around the house:
Drill with 5/16-inch drill bit
Wooden or metal spile and plastic tubing line (often sold in kit together)
Five-gallon bucket or one-gallon milk jug (depending on the size of the tapped tree)
Mason jars or other similar-sized glass containers
Chicken or turkey frying pan, wok, or other large cooking pan
Candy thermometer
How to set up a tree tap
The best time to set up a tree tap is during mid- or late January, West said, depending on the weather. Ideally, installation should be done when the temperature hovers around 40 degrees Fahrenheit for three or four days.
"Around 40 degrees is when that tree's 'heart' is 'beating' fast enough to move the sap up and down the tree," West said. It's during this time, before a tree's buds begin to grow, when tree taps should be installed.
To start, gather the necessary materials for tap installation: a drill with a 5/16-inch bit, a wooden or metal spile and plastic tubing, and a container for collecting the sap, like a five-gallon bucket or one-gallon milk jug.
Next, select a tree. Any type of tree can be tapped, but West recommended it be at least 10 inches around. She added that the older the tree, the more nutrients it has to offer.
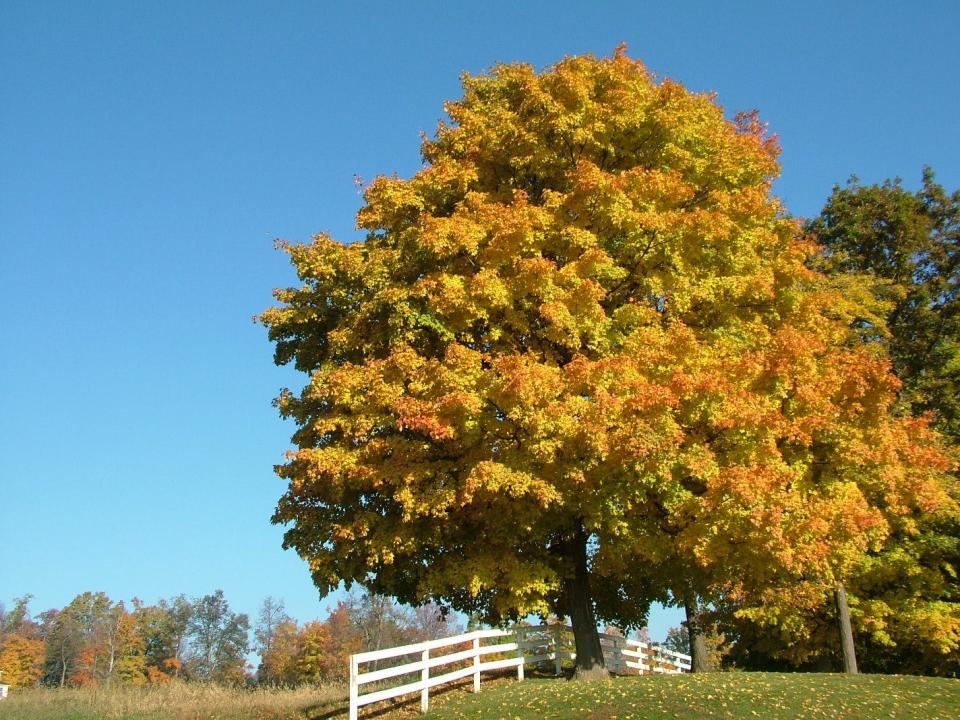
For a syrup with a flavor most similar to maple syrup found in stores, use a sugar maple tree. Sugar maples have leaves that look like the one on the Canadian flag, branches and twigs that grow in opposite directions, light gray and peeling bark, and reddish-brown buds.
The tap should be installed on the south-facing side of the tree. If unsure of which way is south-facing, use a smartphone's compass (or a good old-fashioned one).
Using a 5/16-inch drill bit, drill a hole into the south-facing side of the tree. Drill one inch past the bark — this depth will vary depending on the type of tree selected, as different tree species have different bark thicknesses. West said she uses her pinky finger as a guide for measurement. Additionally, drill the hole in a slightly upward angle. This will aid sap flow through the spile (think of this like a faucet) for collection.
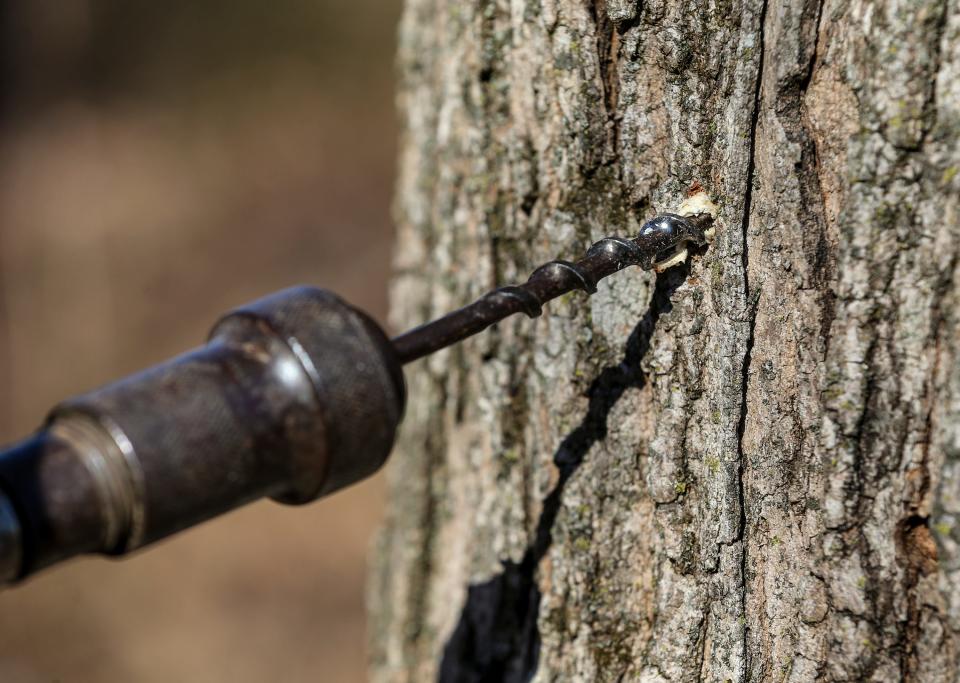
Drilling too deep will hit the tree's heartwood, the central part of the tree. Too shallow and you won't make contact with the tree's sapwood, through which sap runs.
Consider drilling the hole toward the bottom of the tree, not quite at the stump, for the sake of future tap installations. Taps cannot be placed in the same spot year after year, West said. When placing next year's tap, it should be installed a bit above the previous hole and a bit to the left or the right, but still on the south-facing side.
Once a hole has been created, insert the wooden or metal spile. The Missouri Department of Conservation recommends lightly tapping the spile into the hole with a mallet or similar tool.
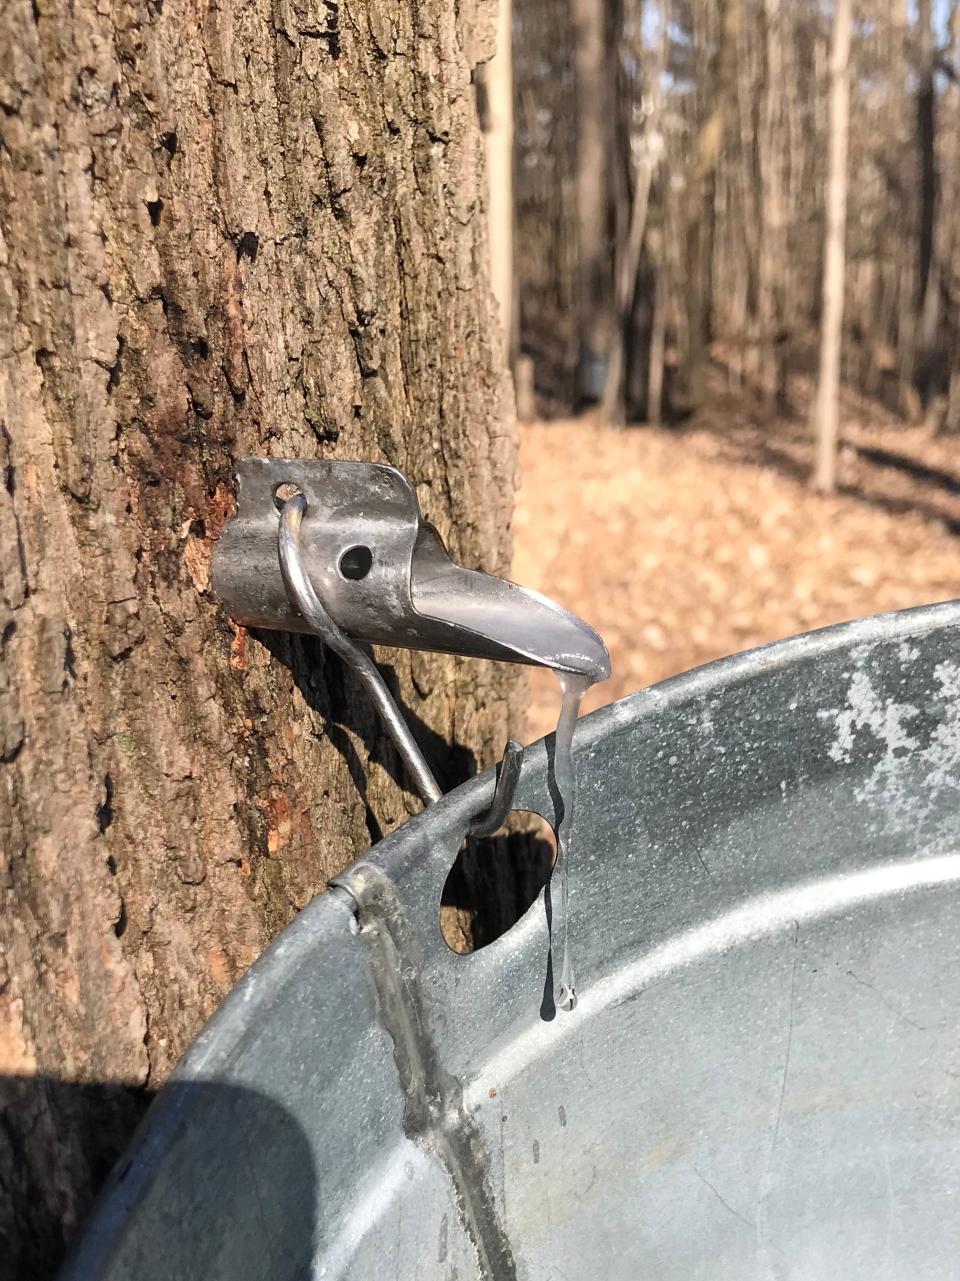
If utilizing tubing line, this may come pre-attached to the spile. If the two tools are separate, they should be joined beforehand. The spile will serve like a faucet and the tubing will serve as the piping for the sap to run into the collection container.
Secure the end of the tubing into the collection container. If tapping a larger tree, consider using a five-gallon bucket. If tapping a smaller tree, a container like a one-gallon milk jug works fine, West said. If installed properly, and the weather is warm enough, West said a slow drip of sap should begin within 15 minutes.

Not interested in tubing? Neither were the old-timers. West said originally, a nail was hammered into the tree bark above the spile where a bucket was then hung. This bucket served as the collection container. This process can still be used but it is more likely for debris to mix in with the sap.
For first-timers, West recommended checking the collection container daily. If the weather is below 40 degrees Fahrenheit for several days, the taps can go two or three days without checking, West said.
If precipitation is in the forecast, West advised removing the collection container and bringing it inside, until the precipitation has stopped, to avoid contamination.
Upon collecting, West said she transfers the sap into mason jars which she then puts into her fridge until she is ready to boil down the sap to syrup.
On average, West said trees will dispense sap for about four to six weeks, if a tap is installed in mid- to late-January.
For visual learners, the Missouri Department of Conservation offers an online guide, full of photos, for tapping sugar maple trees. The guide, which can be printed, is available at mdc.mo.gov/discover-nature/activities/maple-sugaring.
Sap to syrup
As for making the sap into syrup, the reduction process is quite simple. West said she has read, and been told, that this process should never be completed in a standard home kitchen because things will get sticky, but she's never had a problem in her own home. The Missouri Department of Conservation recommends using a propane fish fryer, cinder block stove or half-pint evaporator stove outside.
West said she lets about five or six mason jars get full in her fridge before starting the reduction process. For her, this typically means making syrup once a week.
More: Missouri's 'forgotten fruit' no longer, researchers explore ways to commercialize pawpaws
First, pour the raw sap through a mesh sieve to remove any unwanted debris. Then, using a chicken or turkey frying pan, wok, or other large cooking pan, simmer the sap on the stove. If working inside, make sure to use a fan for ventilation. Continue to reduce the sap until it is 219 degrees Fahrenheit. West recommended using a candy thermometer.
When it comes to the correct consistency for the syrup, West advised first-timers to be aware that it will likely be different than they are used to. She said natural syrup is a liquid, unlike processed syrup in stores that has a more gel-like consistency.
"They'll think that their syrup isn't done and they'll reduce it even farther and it will crystal on them," West said. "It's not going to be a thick syrup like a simple syrup."
Once the syrup has been reduced to 219 degrees Fahrenheit, remove from the stovetop and place in a desired container. Store in the fridge. Homemade syrup can be canned to be shelf-stable, too.
As for how much syrup you can anticipate making, this varies per tree species. The Missouri Department of Conservation states that sugar maple trees have the highest sugar content, around 3%. Other trees typically have only about 1% sugar content. Generally, 40 gallons of sugar maple sap will produce about one gallon of syrup. For comparison, it takes 80 gallons of walnut sap to make one gallon of syrup.
Greta Cross is the trending topics reporter for the Springfield News-Leader. Follow her on X and Instagram @gretacrossphoto. Story idea? Email her at gcross@gannett.com.
This article originally appeared on Springfield News-Leader: Sap to syrup: Here's what to know about tree tapping in the Ozarks

