Homemade goodness: try these four energy bar recipes - from cookie dough protein balls to apple crumble bars
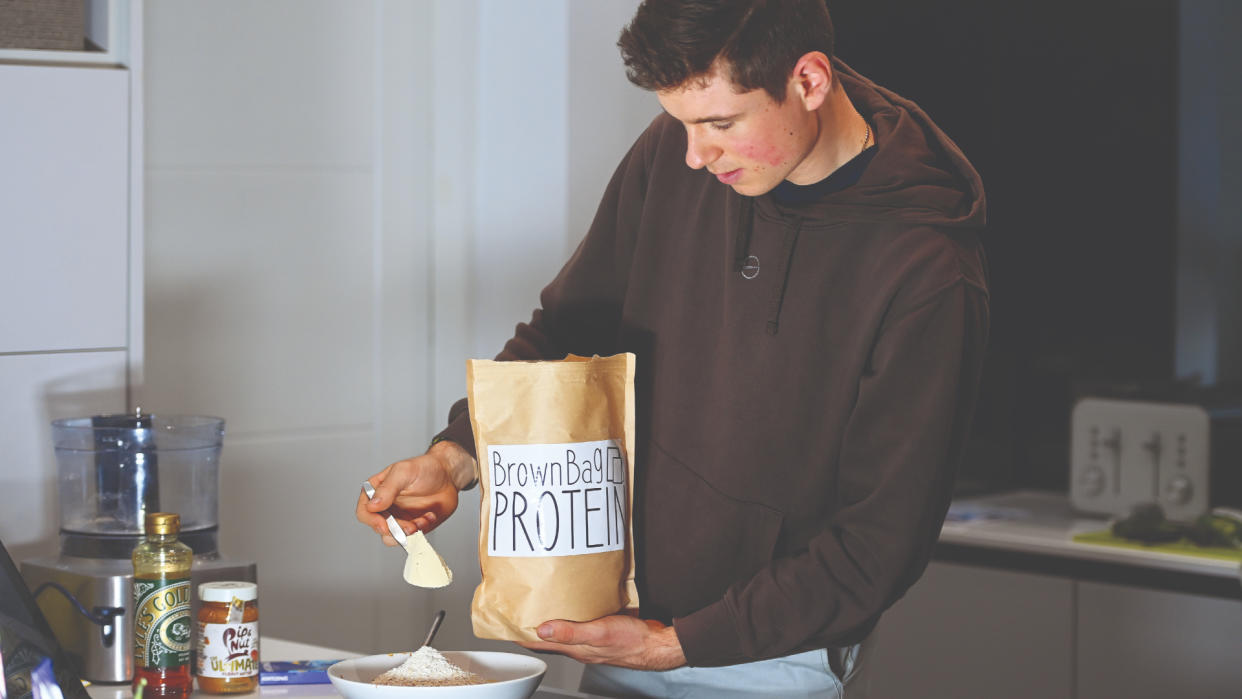
Although they’re convenient to use and glitzily marketed, manufactured energy products tend to be expensive as well as, in my experience, artificial tasting and much too sweet. Most of the best energy bars and energy gels come in gaudy packets printed with long lists of unpronounceable ingredients – the chemicals that ensure a long shelf life – and I never feel fully comfortable about putting such things into my body. My solution? Following an intensive few weeks of experimentation in the kitchen during lockdown, I now make all my own bars from scratch – and in this feature I’m going to show you how. It’s much easier than you might think.
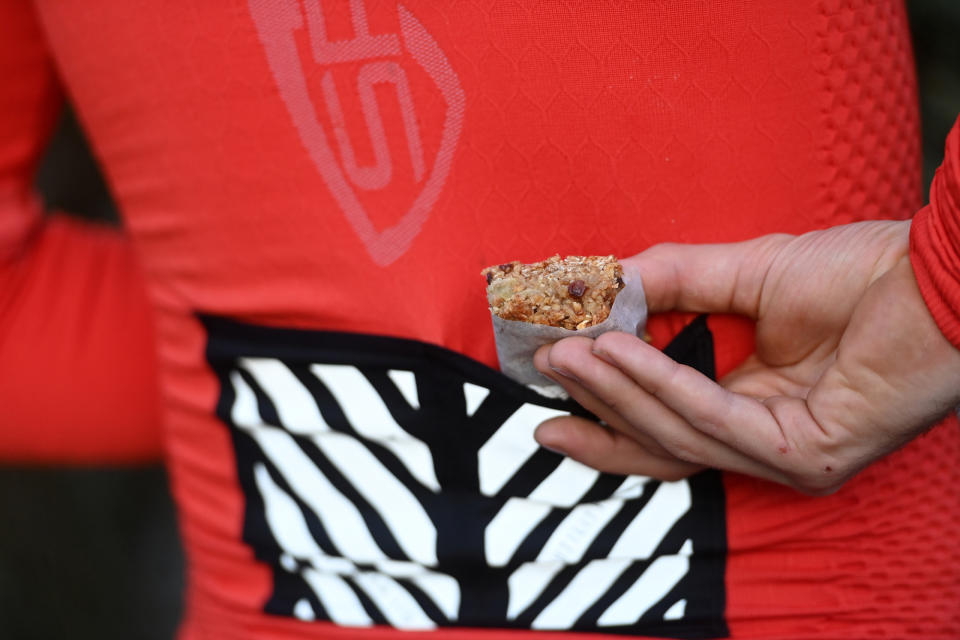
If the bars you’re carrying in your jersey pockets are unappetising, you’re less likely to reach in and grab one. This increases the risk of eating less than you need and training less effectively as a result. It’s not just about flavour but texture too – homemade bars, because they’re fresh, are far more succulent and require less chewing. Eating on the bike should be a pleasure, not something you put off for fear of gumming your jaws together!
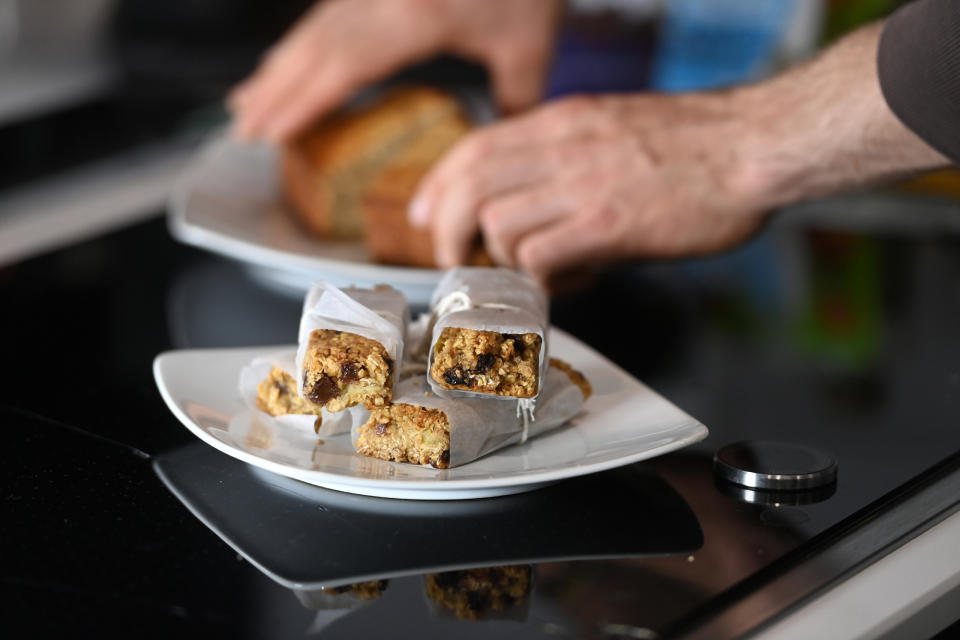
If you do a lot of riding, the cost of commercially made energy food all adds up. Most bars cost $/£1-2 each, and you’ll easily get through three to four bars on a standard Saturday morning ride. In contrast, the simple ingredients for a big batch of homemade bars cost only a few pounds and you can easily make enough for the whole week.
Once you’ve learnt the basics, you can let your imagination run wild in the kitchen – there’s no limit to the flavour combinations you can try. I’ve created more than 50 different bars since I started experimenting a couple of years ago. From sticky toffee pudding to apple crumble and banana cake bars, the options are endless. Better still, the base mix requires only a handful of staple ingredients.
Another benefit of making your own bars is that you know exactly what is going into each one. If you have an allergy or particular dislike, it’s no problem, as you can simply avoid that ingredient. You can cut the bars into exactly the right size too. This tailoring is especially useful if you’re getting ready for your first 100-mile ride or are trying to reduce your sugar intake. The best cycling apps such as MyFitnessPal are on hand if you want to work out the precise macros and nutritional content of your mixture to determine how many bars or balls to make, corresponding to your nutritional goals.
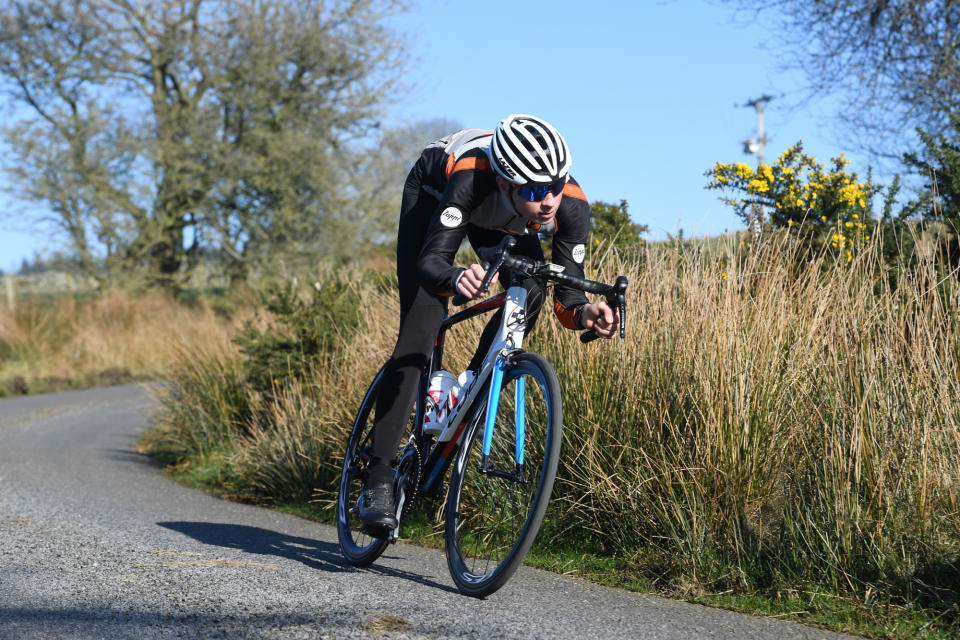
While racing, I aim to consume 100g of carbohydrates per hour. Some of the shop-bought bars I used in the past contained only 25g of carbs, requiring upwards of 10 bars for a long race. Bars containing more carbs tended to be too dense and difficult to eat while riding at a hard pace.
Using homemade bars has solved this problem – my own bars contain 40-45g of carbohydrates and are much easier to chew, swallow and digest. And of course, they’re much tastier too.
Finally there’s the sustainability benefit: with homemade bars, there’s no non-biodegradable packet or cardboard box, cutting down on litter and landfill waste.
If you want to go zero-waste, you can even use beeswax to wrap your homemade bars. Buy your ingredients locally and there isn’t much more you can do to have minimal environmental impact with your cycling nutrition.
Making your own energy food is much easier and more fun than you might think. So let’s get started!
Homemade energy bar recipes
The four recipes featured here are extracted from Natural Energy, a PDF of 50 recipes for energy bars and balls, from classics like peanut butter and jelly to tasty coconut and cranberry. which is available for £5. Email me at couzenst@gmail.com for more details.
Apple crumble bars
Ingredients
300g oats
150g golden syrup
75g raisins
30g caster sugar (optional)
2 large cooking apples
1 tsp cinnamon (optional)
Method
Preheat the oven to 180ºC.
Chop the apples into small cubes and add to a large pan.
Cook over a low heat for 10 minutes, until the apple starts to soften.
In a separate pan, add the golden syrup and melt on a low heat for a minute before adding in the raisins, oats and cinnamon. Mix well.
Press half the oats mixture into a baking tray lined with baking parchment paper. Then add a layer of the apple mixture, followed by the rest of the oat mixture making sure to completely cover the apple.
Sprinkle caster sugar on the top and place in the oven and cook for 20 minutes or until golden brown.
Remove from oven and leave to completely cool before cutting into the desired number of pieces.
Wrap each piece of apple crumble bar in parchment paper and store in an airtight container in the fridge.
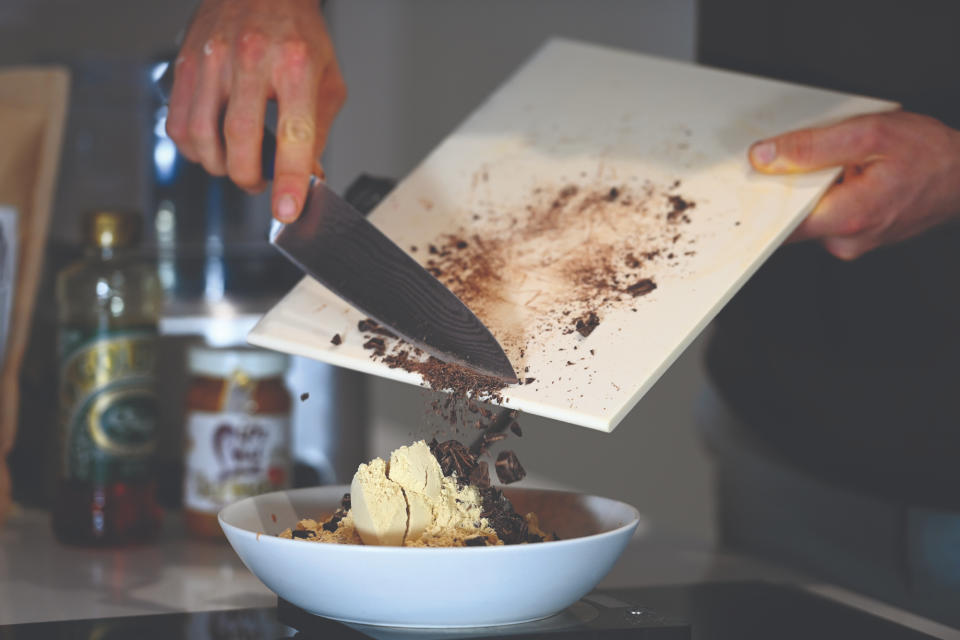
Cookie dough protein balls
Ingredients
100g oats
100g vanilla protein powder (or flavour of your choice)
100g nut butter of choice
100g golden syrup
50g dark chocolate (milk or white chocolate is fine, or dried fruit if you prefer)
Method
In a large bowl, combine the nut butter and golden syrup.
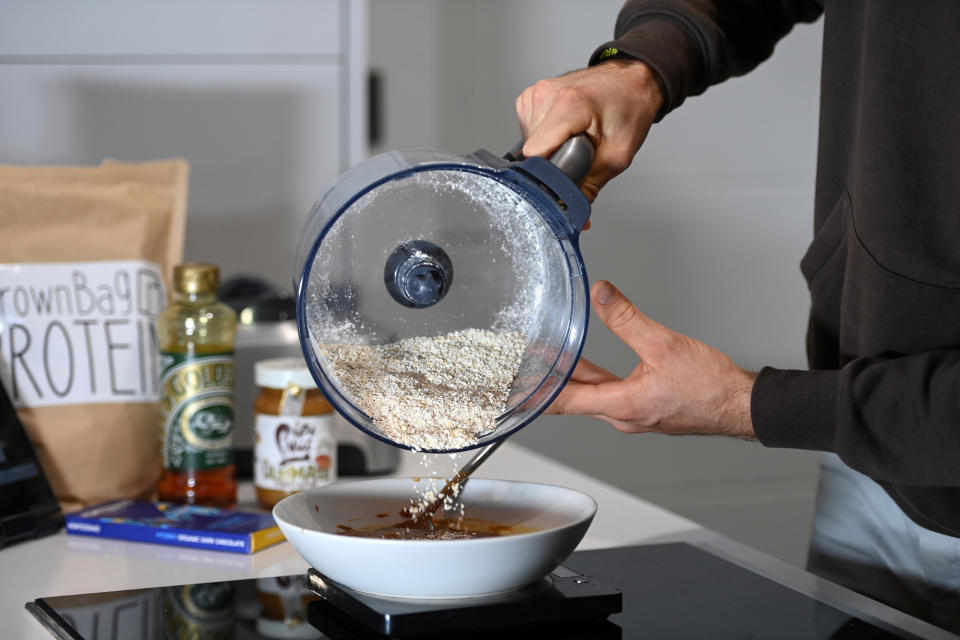
In a blender, add the oats and blitz into a fine powder.
Add all of the ingredients except the chocolate to the nut butter mixture and mix well until the consistency is similar to cookie dough.
Using a sharp knife, chop the chocolate into fine shavings and fold into the mixture.
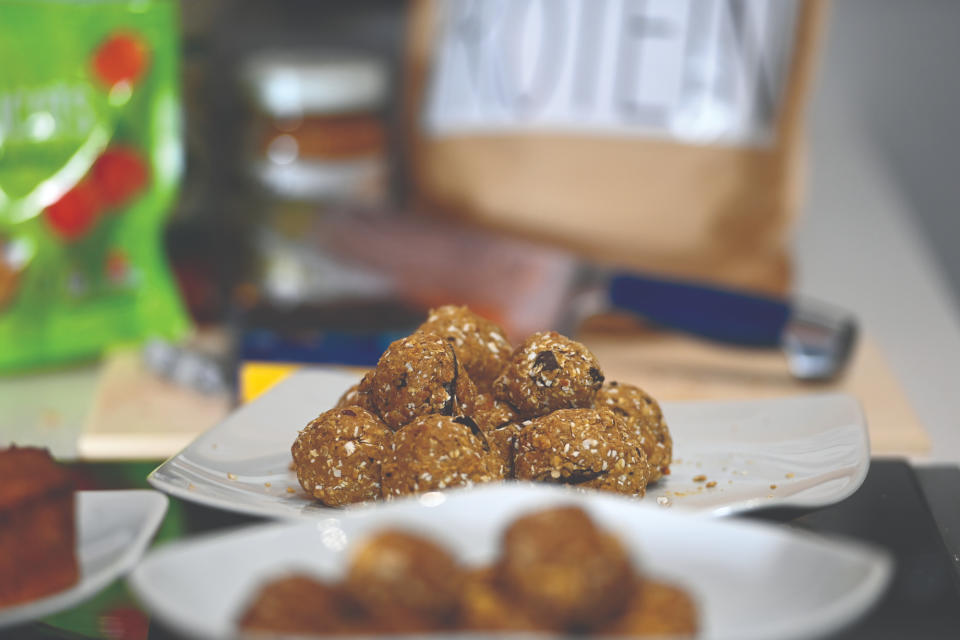
Roll the mixture out into balls.
Place the balls in an airtight container and store in the fridge ready to be eaten.
Banana bread
Ingredients
200g oats
50g self-raising flour
100g caster sugar
200ml milk
2 large bananas
2 eggs
1 tsp cinnamon
½ tsp baking powder
Method
Preheat the oven to 180ºC.
In a blender, blitz the oats until reduced to a fine powder.
In a large bowl, mash the two bananas before whisking in the eggs and milk.
Fold the dry ingredients into the wet ingredients and mix well.
Grease a bread tin, then pour in the banana bread mixture.
Cook for 35 minutes or until a skewer comes out clean.
Leave to cool before cutting into roughly eight slices. Store in an airtight container until ready to consume.
Chocolate peanut balls
Ingredients
200g oats
100g peanut butter (almond or cashew butter also work)
100g golden syrup
100g pitted dates
50g salted peanuts
3 tbsp cocoa powder
Method
In a powerful blender, add the peanut butter, golden syrup and dates.
Blitz until the dates have broken up to create a smooth, sticky mixture.
Pour in the cocoa powder and blend the ingredients again.
Add the oats and peanuts, and combine the mixture using a wooden spoon.
Using just your hands, roll out the mixture into 12 roughly equal-sized balls.
Store in an airtight container until ready to consume.
DIY liquids: make your own drinks and gels
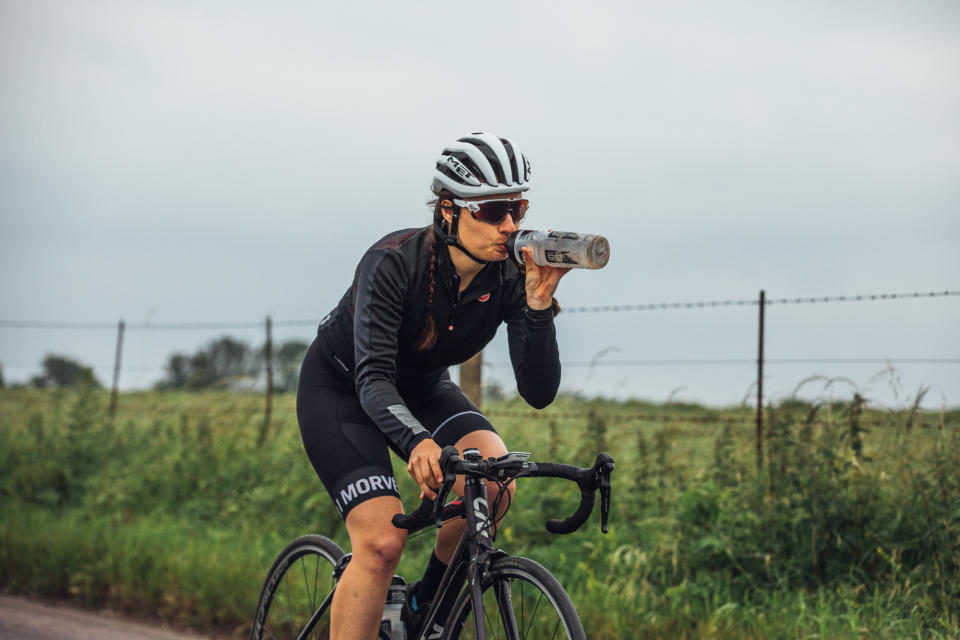
As well as making your own bars, it’s easy to make your own energy drinks. All you really need is some sugar (or maltodextrin*), water and salt. To make isotonic drinks (concentration of 4-8% sugar) for rides of less than two hours, add 45g (three tablespoons) of sugar to a 700ml bottle with a dash of no-added-sugar squash or lemon juice, top-up with warm water and allow to cool. Alternatively, half-fill your bottle with fruit juice and top up with water.
For longer, more demanding rides, you’ll need a stronger, 9-12% concentration drink. To make this, add 30g (two tablespoons) maltodextrin, 60g (four tablespoons) sugar and a dash of no added-sugar squash or lemon juice (plus a quarter-teaspoon salt, if needed) to a 700ml bottle. Top-up with warm water and allow to cool. This provides 90g of carbohydrate per 700ml bottle with a two-to-one glucose-to-fructose ratio.
To make your own gels, add 80ml of honey plus one tablespoon of maltodextrin and a pinch of salt to a reusable 150ml bottle such as those available from Kendal Mint. Top-up with water, shake well and you’re good to go.
*You can buy maltodextrin inexpensively online. Made from corn, wheat or rice starch, it’s almost tasteless, has minimal sweetness and can be mixed with sugar and/or squash or fruit juice to your own taste.
This full version of this article was published in the print edition of Cycling Weekly. Subscribe online and get the magazine delivered direct to your door every week.

